Copyright Xfinitysoft
made with the Documenter v2.0
made with the Documenter v2.0
In most hosting accounts these extensions are enabled by default. But you should consult with your hosting provider.
Login to cPanel and create a brand new database that will be used for XFINITY CRM installation.
You can check this tutorial how to setup MySQL database in cPanel if you are not familiar with how to configure database.
Upload the files to server folder where you want to install XFINITY CRM .
Assume that you uploaded the files to “crm” folder, navigate to eq. http://yourdomain.com/crm – Keep in mind that you need to adjust the URL based on where you uploaded the files. If you are installing on subdomain named eq crm you need to access the url like http://crm.yourdomain.com.
Installation will start and you have to pass through these steps
when you open eq. http://yourdomain.com/crm this page then installation will start. you will see first page like this
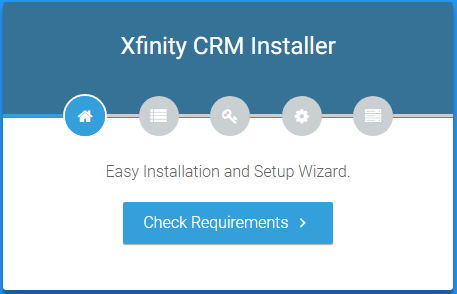
In next step Installer will check for Server Requirements that needs to fulfill in order to install XFINITY CRM
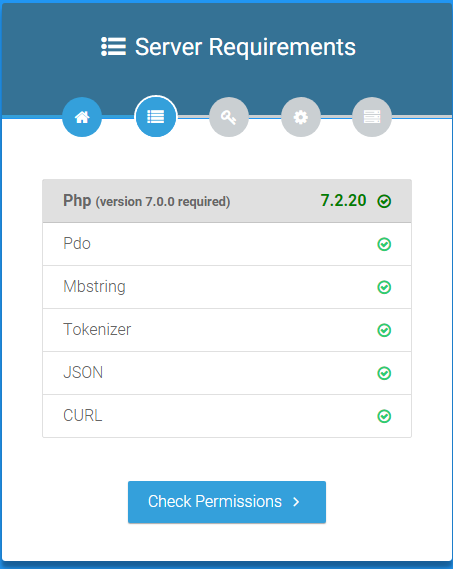
If all server requirements passed click Check Permissions otherwise consult with your hosting provider to fix/enable them
In next step installer will check for Required Permissions on folders
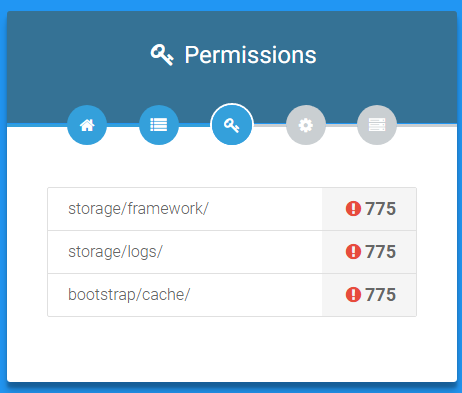
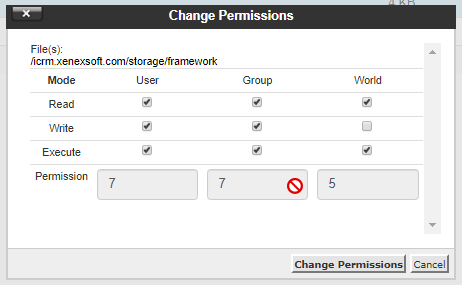
application needs permission 775
on these folders. you can change permission from your cpanel like on folder /storage/framework/ you can change permission like this
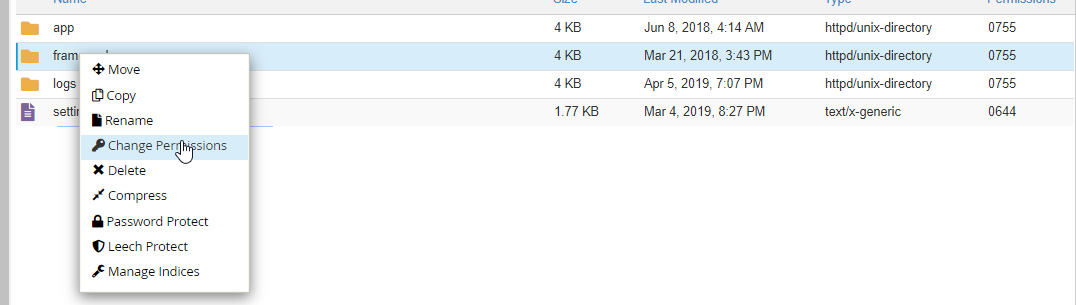
after permission change you will see this. And you can move to next step
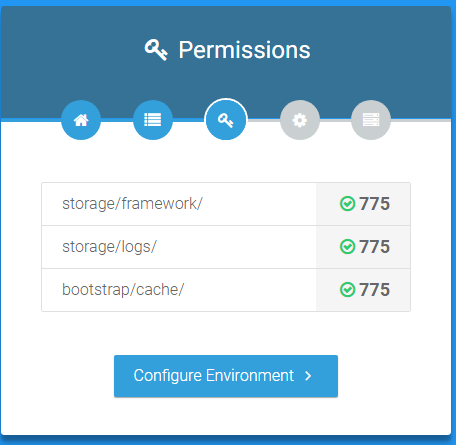
If all permissions are passed click Configure Environment
In next step installer will ask you to enter setup environments
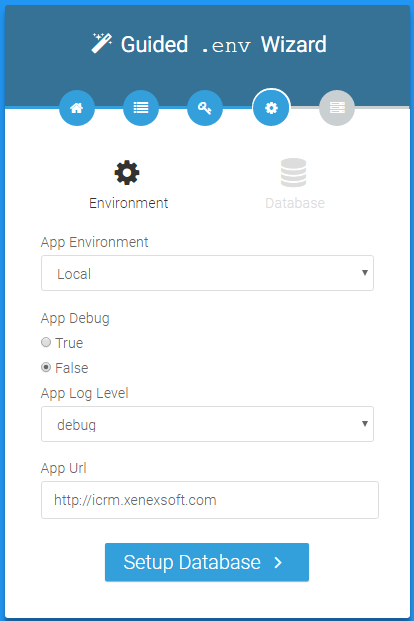
After adding environments click on Setup Database
There you will have to add database credentials which you have created in Configure database connection
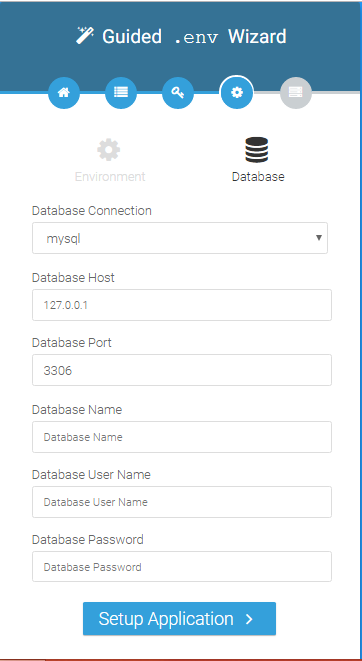
Click Setup Application and if the database connection is successfully you will be passed to the latest step otherwise please re-check your credentials and host-name. (usually host-name is localhost but you should check with your hosting provider or cPanel)
After successful database connection application will fully install into your website and you will see Installation Finished page like this
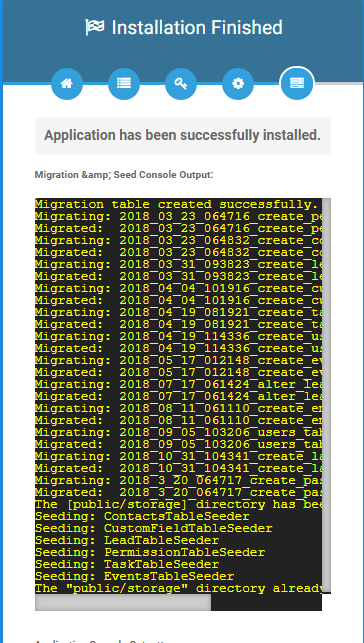
Now click on Exit you will be redirected to login page.
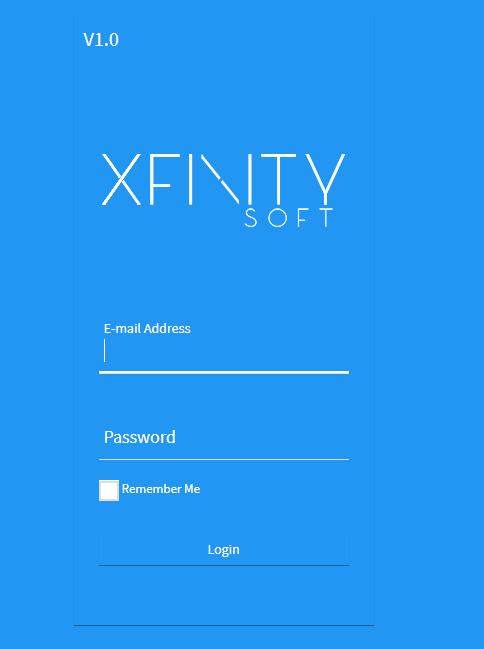
Default credentials After installation will be

Email Address : admin@xfinitysoft.com

Password : qwerty@123
Even if you are trying to install XFINITY CRM on WAMP you must meet all the requirements.
WAMP by default comes with mod_rewrite disabled.
To Enable .htaccess in WAMP Server use the following steps
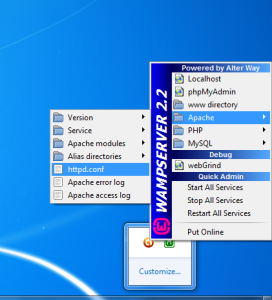
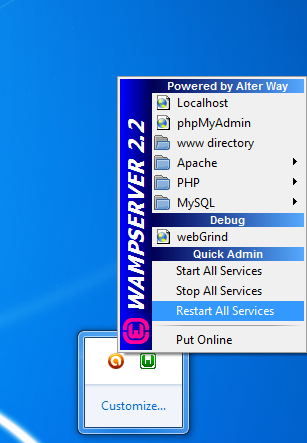
STEP 1: click on Wampserver and select apache->httpd.conf
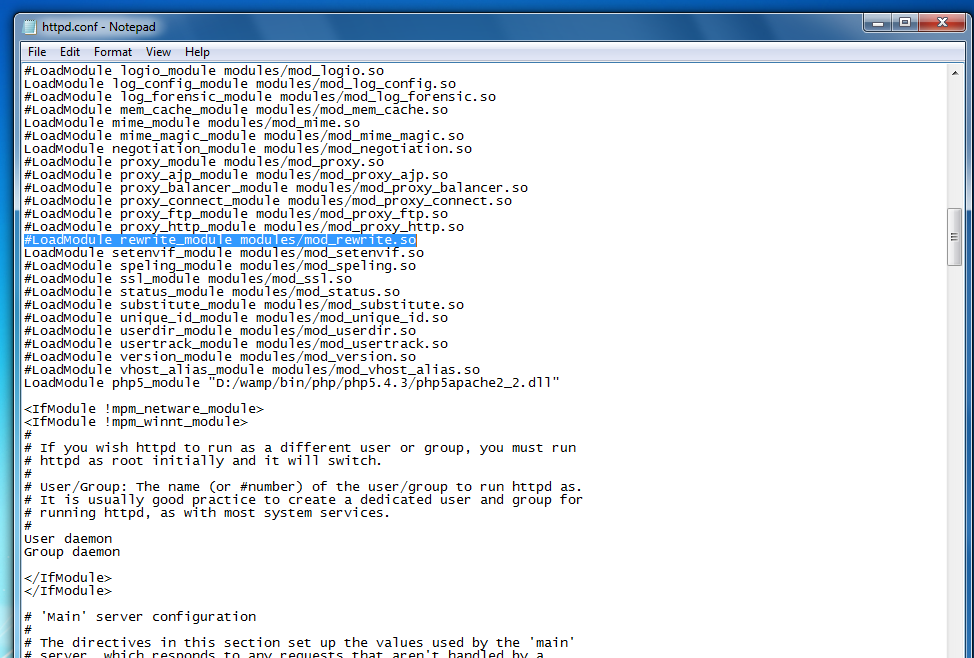
STEP 2: Find and replace the following text
Find #LoadModule rewrite_module modules/mod_rewrite.so
Replace LoadModule rewrite_module modules/mod_rewrite.so
STEP 3: Restart Wamp Server
You can install XFINITY CRM on XAMP server without any problems. Everything will work good except if no internet connection you wont be able to send emails.
Few changes we need to do in XAMP default installation.
1. Change the .htaccess
RewriteRule ^(.*)$ index.php?/$1 [L,QSA]
to
RewriteRule ^(.*)$ /yourfolder/index.php?/$1 [L,QSA]
2. IMAP extension manually (enable them in php.ini and restart apache).
Try to install again.